

 d
dMain Cake Page - Cake Gallery - Discworld Tutorial - Orc Head Tutorial - Shelob Tutorial - Gummy Tutorial - Books - Links
This cake was made on styrofoam dummies so it could be entered into the 2009 That Takes The Cake! Austin Cake Show, in the Adult Intermediate division, Novelty/Special Occasion Tiered category. It won both its category and division! It was also featured in an editorial in the March 2009 issue of American Cake Decorating Magazine, where the editor said he and Roland Winbeckler spent a lot of time as judges appreciating all of the detail.
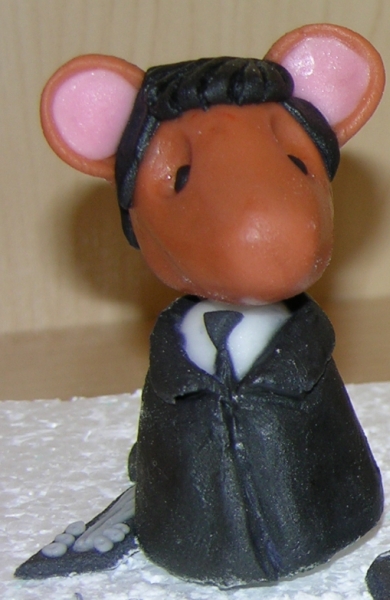
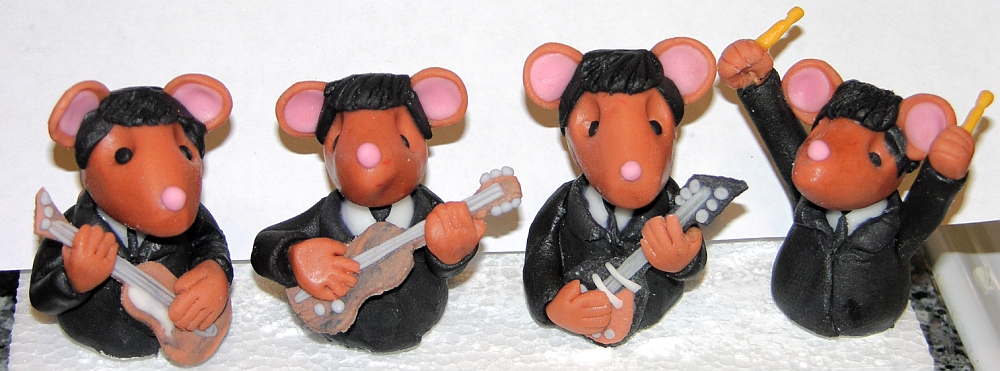
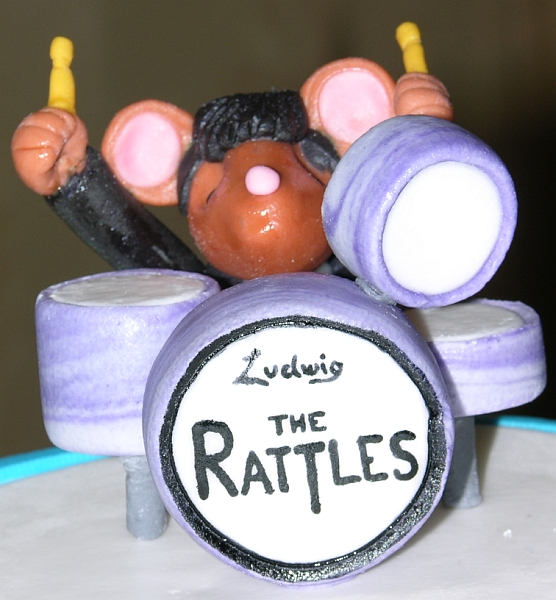
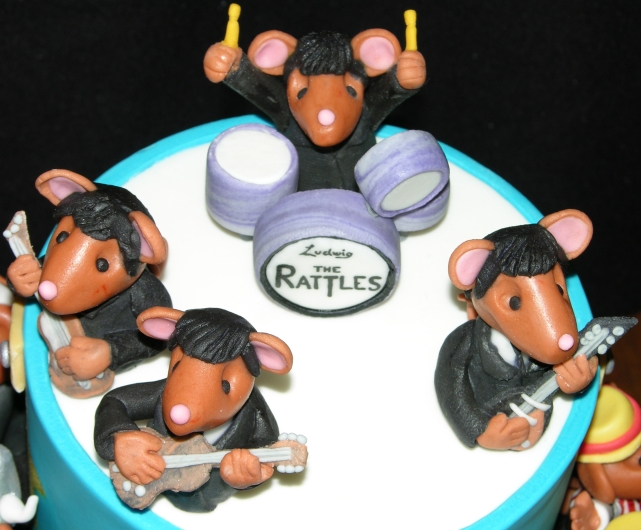
The mice are all made in basically the same way: first a body is allowed to harden on a toothpick. Then I build on whatever torso costume is needed. Then I shape a head and let it become firm but not dry. I attach the head and let it dry thoroughly. Then I add ears, any hair or hats, eyes, arms, any musical instruments or other held objects, and lastly the nose. These photos show the making of the Beatles (which I called the Rattles to extend the Beatles name-pun to mice). I have taught this technique at meetings of the Capital Confectioners cake club in Austin, TX. If there is sufficient interest, I may make the handout from those lessons available for a nominal fee to the general public.
Here are photos showing how the Beatles (or, in this instance, the Rattles) were made and placed:
The tiny piano was the most complicated and challenging part of this cake. I started by rolling out black fondant and cutting the shape of the piano and let it dry completely. Then I cut a similar, smaller shape in mixed brown/yellow to look wood-like and affixed it to the black shape. Then I added a strip around the sides and a black beam across the mid-front. I cut some strips of the brown/yellow mix and put them in on their sides, roughly positioned based on photos of pianos I found online. Then I cut a strip of white fondant to size and put it on the front, and used the edge of a small knife to make indentations for the right number of keys (yes, this piano has a proper count of both black and white keys). I piped on the black keys and piped in some strings (it does not have anything close to the right number of strings). I put in some yellow bits around the back interior edge as well. Then I turned the whole thing upside down to put on the legs, which were clipped bits of toothpicks wrapped in black fondant, pushed into two layers of cut-out rectangles of fondant on the base. For the lid, I cut out a shape to match the bottom piece and let it dry completely. I wrapped a toothpick in some black fondant and let it get firm but not dry, then put a ball on either end and smushed those into place to hold the lid open. I decided to omit pedals due to time and complexity.
For Elton John's glasses, I tried a new technique - at least, it's new to me. I experimented with different size drips of gelatin (one packet in 2 oz water) on a silicon mat, one part greased and the other part not. I discovered that the drips on the greased part spread further and dried faster, but curled as a result. Those on the non-greased part took a long time to dry and sometimes stuck a bit to the mat, but formed nice little "lenses". I wrapped two in fondant and put them on Elton's nose.
Here are the drums before the mice were put on:
The completed cake from several angles:
Detail closeups of some of the mice:
Main Cake Page - Cake Gallery - Discworld Tutorial - Orc Head Tutorial - Shelob Tutorial - Gummy Tutorial - Books - Links
Use this link to view this page with my preferred colour and font settings.
Page last updated March 8, 2010.
Email me at crafts@kimberlychapman.com
If you want to receive notification of updates on any portion of this site, simply enter your email address here and click/select the button to enter. You will be required to sign up for a free Yahoo! account to complete registration. Please note that Yahoo!'s privacy policy and other management are outside of kimberlychapman.com's responsibility. Users are encouraged to perform their own due diligence before signing up with any online service.
To find out more about the list or read messages without signing up, please visit the Yahoo! page for the kimberlychapman updates mailing list.
For more information on what these tags mean, please see About KimberlyChapman.com.