 [d]
[d]
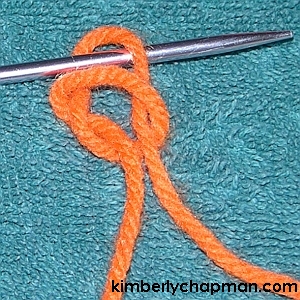
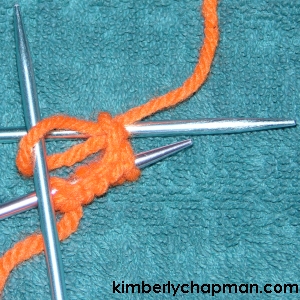
You will begin by casting on as normal. Tie a slip knot on one of the needles. I've used a purple one to help you keep the needles straight at first; the rest will be turquoise. However, double-pointed needles usually come in sets of four all the same colour.
 [d]
[d]
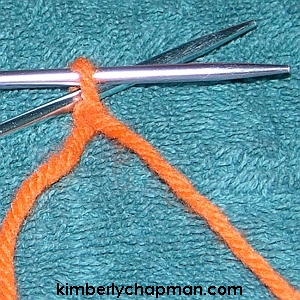
Get a second needle and put it through the back of the first loop to knit the first stitch, as with normal casting on.
 [d]
[d]
Loop the yarn around the second needle as with normal casting on.
 [d]
[d]
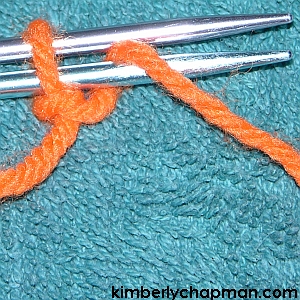
Pull the loop through as with normal casting on.
 [d]
[d]
Pull the loop over the end of the first needle, as with normal casting on.
 [d]
[d]
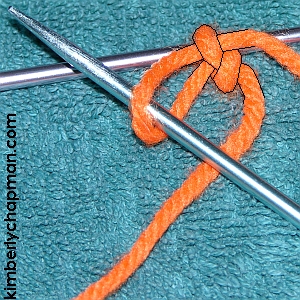
Remove the second needle and pull the stitch snug, as with normal casting on.
 [d]
[d]
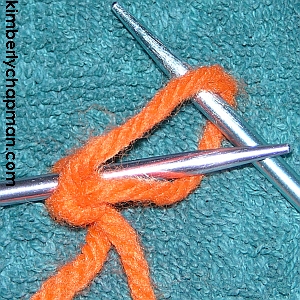
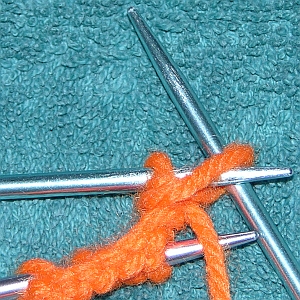
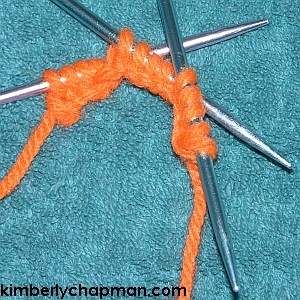
Continue this method as normal, putting one-third of the total starting stitches on this needle (in this case, five).
 [d]
[d]
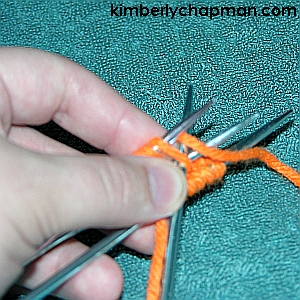
Knit the next stitch, pulling the loop through as if you're casting on normally, but you will be doing something different this time...
 [d]
[d]
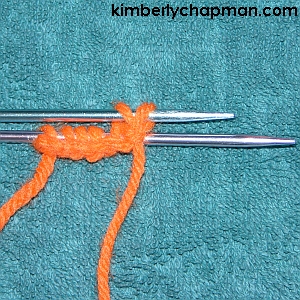
To start putting stitches on the second needle, stop the previous stitch short of looping it over the first needle. Instead, turn the second needle to line up with the first one, then pull the stitch snug. You now have one stitch on the second needle.
 [d]
[d]
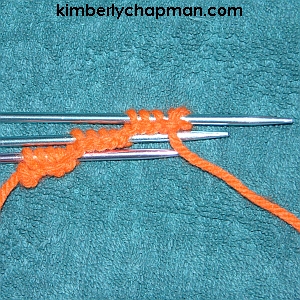
Now take a third needle and insert it into the stitch on the second needle, beginning an otherwise normal casting-on stitch.
 [d]
[d]
Again, pull the loop through as a normal cast-on.
 [d]
[d]
And again, finish casting this stitch onto the second needle by pulling the loop over the end of the second needle.
 [d]
[d]
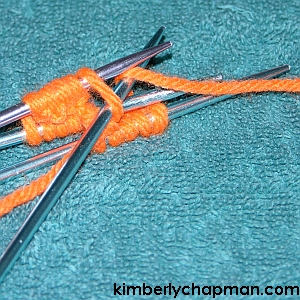
Remove third needle and pull yarn snug. You now have two stitches cast on to the second needle.
 [d]
[d]
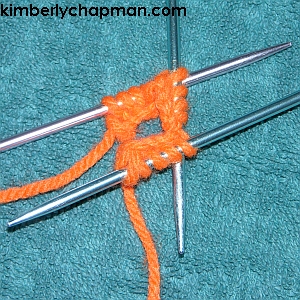
Continue this way to put the required number of stitches on the second needle (five in this case). If the total number of stitches is not divisible by three, I like to put the extra stitch on the second needle or leave it one short, depending on the count. That way you can find a "centre" of sorts on the second needle if needs be.
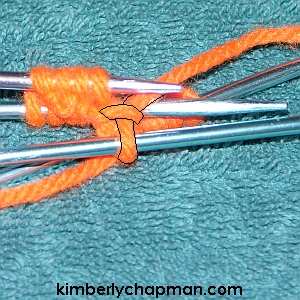
When you have the proper number of stitches on the second needle, repeat the last few steps to put the proper number on the third needle as well, using the fourth to do the casting. Then you should have three needles with stitches lined up as shown in the picture.
 [d]
[d]
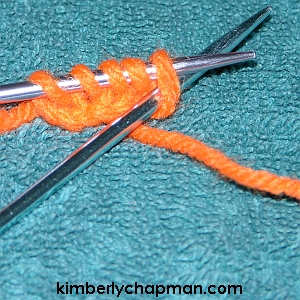
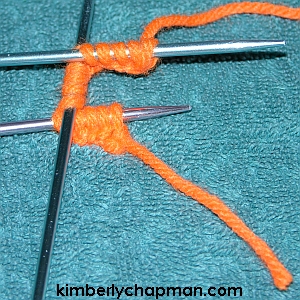
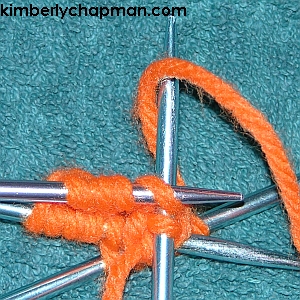
Now comes the trickiest part; you've finished the cast-on row and you have to go back to the starting point to begin to form a tube. You want the last stitch to be up against the first one, so start bending the needles around with that in mind, keeping the bottom edge towards the middle. If you twist an edge, your tube will have a twist in it.
 [d]
[d]
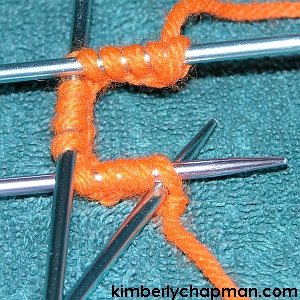
This photo shows the bending of the needles completed so the last stitch is up against the first stitch.
 [d]
[d]
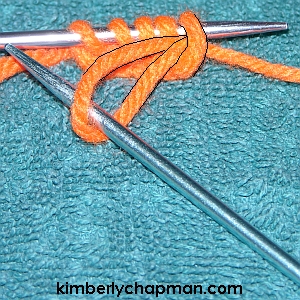
To form the bottom of the tube and begin the next row, turn the entire needle assembly so that the first needle is facing you. Slide the first needle back through the stitches so you can begin to use the other end. This is why the needles need to have points at each end, so you can slide them back and forth and knit from either side.
 [d]
[d]
Put the fourth needle through the back of the first stitch as shown.
 [d]
[d]
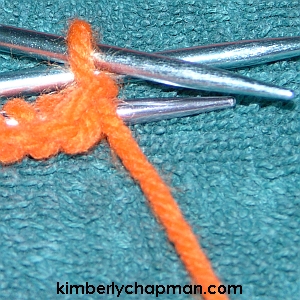
This photo illustrates how I hold the entire needle assembly, with the fourth needle in back of the first stitch and the yarn looped around the fourth needle, ready to knit the start of a new row. Note how the other two needles are held loosely below the two needles I'm actually working with.
 [d]
[d]
Back to the hands-free photos for tutorial purposes, here again are the needles with the two working ones on top and the fourth needle about to pull a loop through the first stitch.
 [d]
[d]
When you pull the loop through, leave it on the fourth needle. As you get better using double-pointed needles, you'll be able to judge how snug to pull this stitch so there's no gap/stretch point in your tube. But while you're learning, don't worry about tension so much.
 [d]
[d]
Continue to knit normally along the first needle, taking the stitches off of it as you go and leaving them on the fourth needle.
 [d]
[d]
This photo shows all five stitches knit from the first needle onto the fourth, and the first needle is now free to work on the next side.
 [d]
[d]
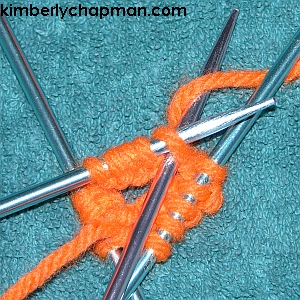
Turn the needle assembly and continue to knit, this time removing the stitches from the second needle and leaving them on the first.
 [d]
[d]
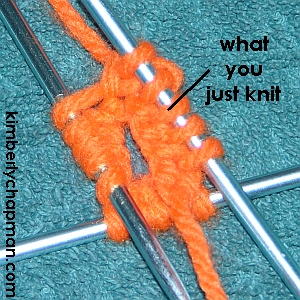
Continue along each needle as before, always using the newly freed needle to begin the next side. The photo here shows the second row completed all the way around.
Note that the continued turning of the needle assembly as you work might eventually cause your feeding yarn to twist up. I find for long tubes, I occasionally have to hold the yarn up in the air from the source and let the needle assembly untwist.
 [d]
[d]
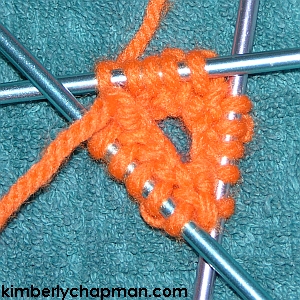
Here is a photo of what a tube looks like after several rows, looking down from above.
 [d]
[d]
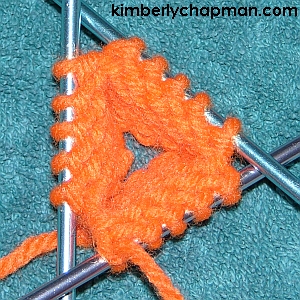
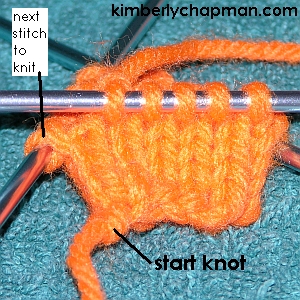
Here is the same tube as the above photo, shown from the side. Note that you can determine where your start point is by looking for the starting knot. When you reach the stitch above and just to the right of the starting knot, you have completed another row. The next stitch you make on the needle to the left will be the start of a new row.