 [d]
[d]
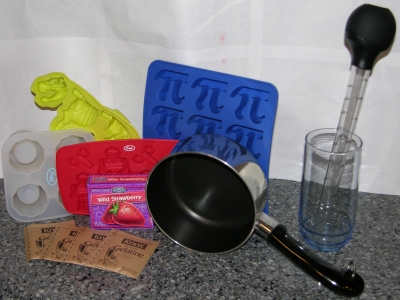
Tools and Ingredients
- 3 oz box of Jello or store brand (any flavour, I find blue tastes the most like classic gummies)
- 4 envelopes unflavoured gelatin (I buy Knox envelopes in bulk at Amazon as that's the cheapest price I've found, even compared to store brands)
- small nonstick pot
- silicone spatula
- baster
- glass tall and heavy enough to support the baster
- silicone ice trays (make sure they are rated as being safe for mild heat)
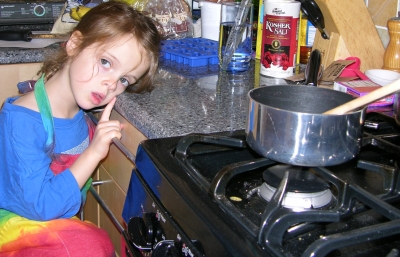
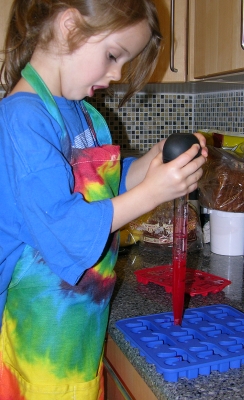
Before you start anything else, fill the glass about 2/3 full of water and microwave it until boiling. Carefully remove it from the microwave and put it to the side of your work area. Put the baster in it. You will keep your baster in this hot water at all times other than when moving gummy around; otherwise the gummy will set up in the tip and clog it.
This demo will primarily use the Pi Ice Cube Tray from ThinkGeek because my five-year-old daughter helped make these on Pi Day (3/14/2011). The photo shows other ice cube trays I've used for gummy but I have several more, mostly by Fred but some no-names found in bargain bins. If you are interested in making gummy frequently, keep an eye out for any food-safe, mild-heat-safe silicone tray. You can also use candy molds.
Note that for this basic recipe, four envelopes of unflavoured gelatin is about right for a firm but biteable gummy. Some recipies use as much as seven, which creates an opaque, barely-chewable result that will snap when dried. Reducing it down to two or three will yield very soft gummy that has a nice mouth-feel but won't hold up as well at room temperature. Feel free to play with the recipe to suit your needs! The advanced techniques mentioned in the introduction frequently use altered versions of this basic recipe to achieve specific results such as translucency, flexibility, etc.
 [d]
[d]
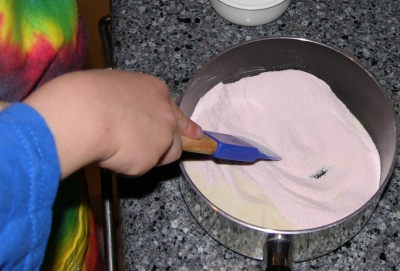
Combine the unflavoured gelatin and the Jello powder in the pot.
 [d]
[d]
Stir the two powders together thoroughly. There's something in the Jello that helps keep the unflavoured stuff from lumping up, so it's really worth combining them.
 [d]
[d]
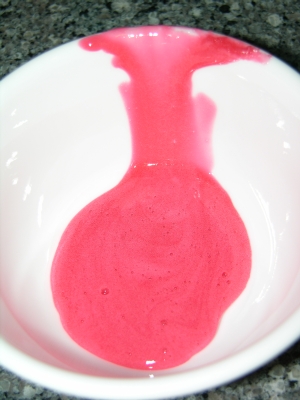
Add 1/2 cup COLD water and stir until thoroughly combined. Then let the mixture sit for at least two minutes. This will hydrate the gelatin and make for a smoother result later.
You will know it's well-hydrated when it starts to thicken and you can see little to no remaining liquid when you stir.
 [d]
[d]
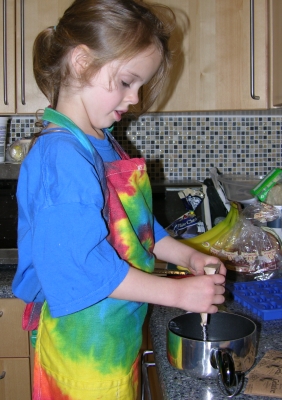
Heat the pot on a very low setting to slowly melt the mixture. You do not want to risk boiling it, so go low and slow. You know you're warming it at the right rate when the five-year-old gets slightly impatient but remains in the room.
Mix occasionally as it heats up, working gently to scrape the goo from the bottom and sides of the pot but without beating in any air. You're going to want the air out later so don't stir roughly and add extra right now.
 [d]
[d]
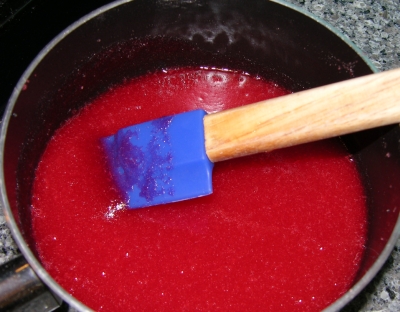
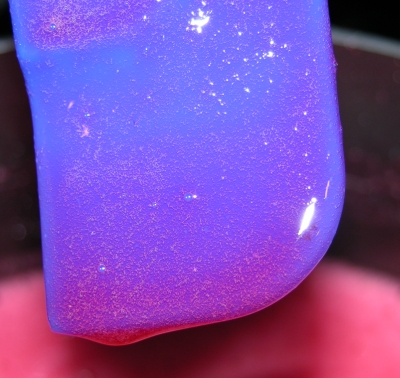
When you can no longer see any gelatin lumps on your spatula (only tiny bubbles as shown here), it's melted.
Add about 10ml (roughly 2 tsp) of hot water to the pot. My baster has ml markings on the side so I just pull up 10ml from the glass and squirt it into the pot. This will help improve the clarity of the gummy faster.
 [d]
[d]
Optional step: you will always get some foam at the top of the mixture, which is completely edible but is much too chewy and doesn't have a great mouth-feel. If you're concerned about it, you can gently scrape it off of the surface and into a separate bowl.
For some advanced techniques, you can later use this solid foamy stuff in a decorative fashion, such as the wild foam created in a water tank with a really angry superhero. If you look at the third picture on that page, you can see a chunk of foamy blue gummy incorporated onto the surface of the "water".
 [d]
[d]
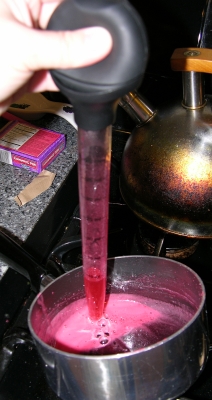
Even if you do remove some foam, you won't be able to get it all off. The trick to getting the nice, clear gummy underneath is to hold your baster above the pot, squeeze the bulb firmly and hold it, tip the pot so the gummy goes to one side (the smaller your pot, the deeper your pool), put the tip of the baster all the way down to the bottom, then gently release pressure on the bulb to draw up the clear goo. Then increase a little pressure on as you lift it out so you don't suck up any foam as you go.
 [d]
[d]
Working swiftly but carefully, gently squeeze the bulb again to deposit the gummy into your mold. You can opt to fill molds entirely or partially, depending on your intended result.
To get a clean back/top, avoid emptying the baster entirely as the last squirt will make bubbles.
Return your baster to the hot water glass for a moment and pull up hot water if necessary to clean out the tip, then repeat until all of the clear gummy is used up.
 [d]
[d]
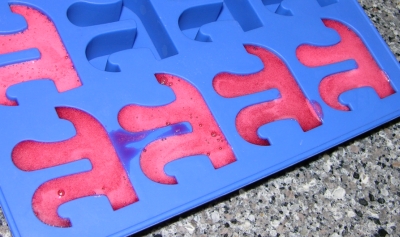
If you use up all of what's in the pot, you will get some foam floating on the top of the gummies. It can be cut off later when it's cold, but that's tricky, so it's best to try to leave it in the pot. That being said, I haven't met a small child yet who cared if there was a bit of foam, so adjust your efforts based on the expectations of the recipients!
You can see in the photo here that the Pis in the upper right were done first and have almost no foam, whereas the ones in the lower left got more foam in the baster and bubbles on the back.
Let the mold sit at room temperature for a few minutes until it has set up enough to move. The exact time will depend on the ambient temperature and the depth of the mold, but a few minutes is generally fine, which is enough time to go to your fridge or freezer and prepare a level space for your mold. Once it's stable, transfer it to the fridge or freezer for several minutes, however long is required for it to set up entirely. Thick items in the fridge might take as much as ten or fifteen minutes, whereas thin items in the freezer may take as little as one minute.
 [d]
[d]
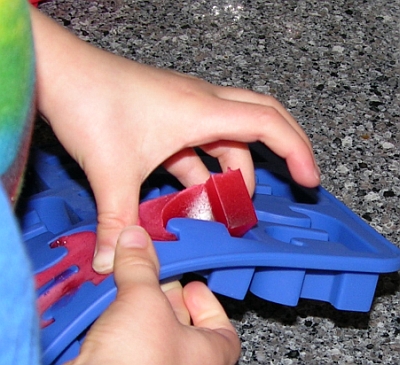
Once they're firm, remove them from the mold. Flexible molds are best because you can pull them and the gummy will pop off. Firm molds might require you to gently and carefully use a tool to pry the gummies out.
 [d]
[d]
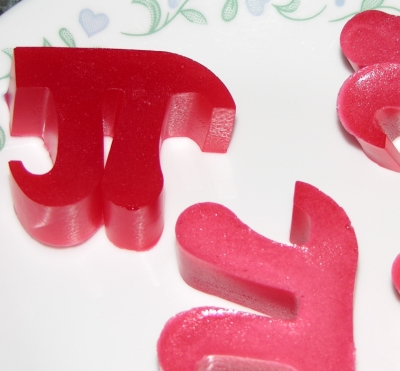
Voila! Gummies!
Note that the side against the mold always looks nicer because it won't have foam or bubbles. With this particular mold, that means showing the nicest side will make the letter backwards. I have some alphabet molds that will yield the same result. Keep this in mind if directionality is important to your project. Then again, remember that the five-year-olds don't care and will happily eat them regardless of which side is prettier to you.
 [d]
[d]
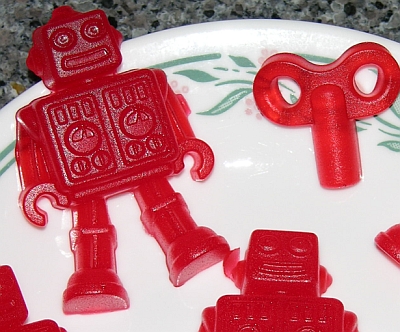
Here are some we made later using the Fred Chillbots mold. Note how the medium captures every tiny detail of the mold. This is excellent for when you want fine detail, but does make getting glass-smooth gummy fairly tricky, which is why that's an advanced lesson for later.
 [d]
[d]
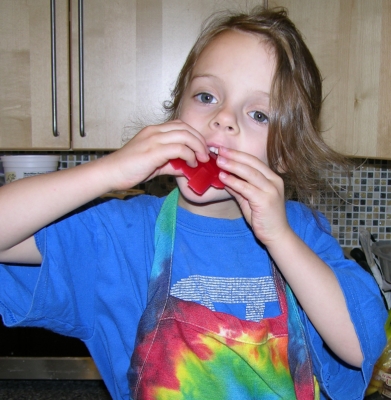
Final step: EAT THE GUMMY!
Or as we say in our house: NOM NOM NOM!