Main Cake Page - Discworld Tutorial - Orc Head Tutorial - Shelob Tutorial - Books - Links
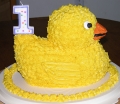
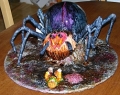
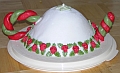
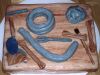
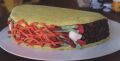
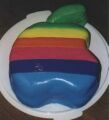
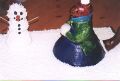
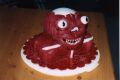
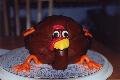
These are my cakes and sugar art, listed in chronological order with most recent first and award winners at the top. Click on the thumbnail or title to go to a page about that cake with full-sized photos.
|
|
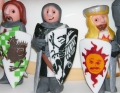
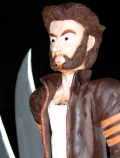
Wolverine Fangirl Ultra-Cake - Second Place, Show Cakes, 2011 That Takes the Cake! Sugar Arts Show and Competition, Austin TX |
|
|
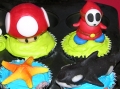
Space by Spacewest Alien Film Festival - First Place Winner, Show Cakes, 2010 That Takes the Cake! Sugar Arts Show and Competition, Austin TX |
|
|
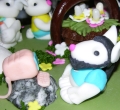
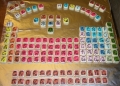
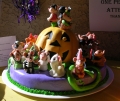
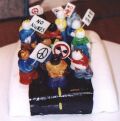
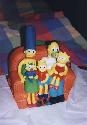
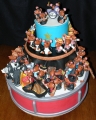
Musical Mice - Award Winner from the 2009 That Takes The Cake! Austin Cake Show, and as seen in American Cake Decorating Magazine. |
Main Cake Page - Discworld Tutorial - Orc Head Tutorial - Shelob Tutorial - Books - Links
Don't like my colour and font style? View this page in your default settings.
Page last updated March 2, 2011.
Email me at crafts@kimberlychapman.com
If you want to receive notification of updates on any portion of this site, simply enter your email address here and click/select the button to enter. You will be required to sign up for a free Yahoo! account to complete registration. Please note that Yahoo!'s privacy policy and other management are outside of kimberlychapman.com's responsibility. Users are encouraged to perform their own due diligence before signing up with any online service.
To find out more about the list or read messages without signing up, please visit the Yahoo! page for the kimberlychapman updates mailing list.
For more information on what these tags mean, please see About KimberlyChapman.com.